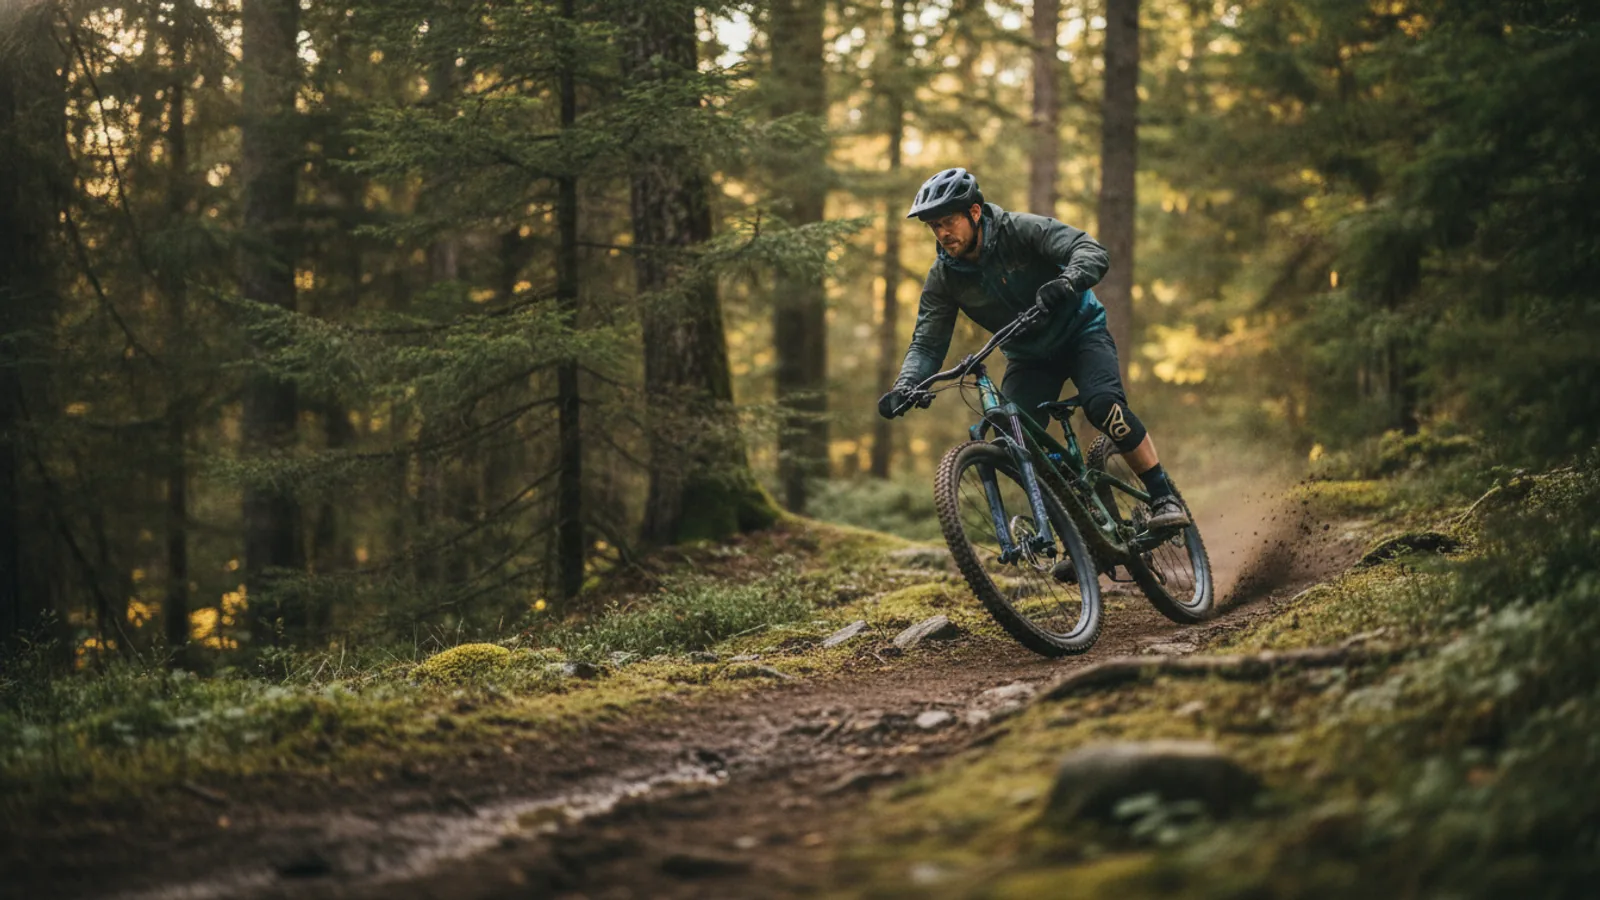
This guide provides a complete framework for planning and executing your first multi-day mountain bike trek. Moving beyond single-day trail rides into self-supported, overnight journeys requires careful preparation, from route planning and gear selection to on-trail maintenance. We cover the essential steps to ensure your adventure is safe, successful, and rewarding. This field-tested advice is for any UK rider ready to explore further and carry their own kit into the wild.
Fast Answer
- Most Critical Step: Meticulous route planning, focusing on realistic daily mileage, elevation, and reliable water sources.
- Key Gear Philosophy: Pack for safety and necessity, not comfort. Every gram counts when you're climbing.
- Essential Skill: Basic on-trail mechanical repairs, especially puncture fixing and chain repair.
Before You Start
Success in mountain bike trekking is determined long before you turn a pedal on the trail. Proper preparation is not just about convenience; it's fundamental to your safety and enjoyment. This involves a thorough check of your equipment, your physical readiness, and the route itself.
What You Need
- A Suitable Mountain Bike: A reliable hardtail or full-suspension bike that has been recently serviced. Ensure brakes, drivetrain, and tyres are in excellent condition.
- Bikepacking Bags: A combination of saddle pack, frame bag, and handlebar roll is standard. This setup maintains the bike's handling better than traditional panniers on technical terrain.
- Navigation Tools: A dedicated GPS device (like a Garmin or Wahoo) is highly recommended for its battery life and durability. A smartphone with a mapping app (like OS Maps or Komoot) and a power bank is a viable backup. Always carry a physical map and compass for the area as a failsafe.
- Lightweight Camping Kit: This includes a tent or bivvy bag, a sleeping bag, and a sleeping mat appropriate for the expected temperatures.
- Cooking System: A small stove, fuel, a pot, and a spork. Dehydrated meals are the lightest and most efficient food source for evening meals.
- Comprehensive Repair Kit: Beyond a standard day-ride kit. Include a multi-tool with a chain breaker, spare chain links, derailleur hanger, tyre levers, tubeless plugs, a pump, spare brake pads, and several zip ties and a roll of strong tape.
- Layered Clothing System: Base layer, mid-layer fleece, and a high-quality waterproof and windproof outer jacket and trousers. Avoid cotton.
- First-Aid Kit: A personal kit with plasters, antiseptic wipes, bandages, pain relief, and any personal medication.
- Water Storage & Purification: Bottles or a hydration bladder to carry at least 2-3 litres, plus a water filter or purification tablets to safely refill from natural sources.
Safety, Timing, or Context Checks
- Physical Fitness: Be honest about your riding fitness. Riding a heavily loaded bike up hills is significantly harder than your usual trail centre loop. Build up your endurance with long day rides, preferably with some weight on your bike.
- Bike Service: Do not embark on a multi-day trip without a full bike service. Check and refresh tyre sealant if running tubeless, inspect brake pads for wear, check all bolts are torqued correctly, and ensure your drivetrain is clean and lubricated.
- Route Feasibility & Legality (UK Context): Research your route thoroughly. In England and Wales, you are generally restricted to bridleways, byways, and other designated permissive routes. In Scotland, the Land Reform Act gives you much wider access rights. Confirm resupply points, water sources, and potential bail-out options.
- Weather Forecast: Check the mountain-specific weather forecast (like the MWIS in the UK) for your intended route. Be prepared for conditions to change rapidly and pack accordingly. Wind and rain can turn a pleasant ride into a serious survival situation.
- Leave a Plan: Always tell a reliable person your exact route, your planned campsites, and your expected time of return. Agree on a procedure for if you are overdue.
Step-by-Step Instructions
Plan Your Route Meticulously
Your route is the backbone of your trek. Use digital mapping tools like Komoot, RideWithGPS, or OS Maps to plot your course. Pay close attention to the daily distance and, more importantly, the total elevation gain. A 30-mile day in the Fens is very different from a 30-mile day in the Cairngorms. Aim for a conservative daily mileage for your first trip—25-40 miles (40-65km) is a realistic target for most riders on mixed terrain. Identify potential wild camping spots (respecting local rules and leaving no trace), confirmed campsites, and water sources like streams or public taps in villages. Download the route to your GPS device and for offline use on your phone.
Select and Pack Your Gear Systematically
Lay out every single item you intend to take. Scrutinise each one: is it essential for safety or function? If not, consider leaving it behind. Distribute weight carefully on the bike to maintain handling. Keep heavy items, like food and tools, low and central in your frame bag. Lighter, bulkier items like your sleeping bag go in the saddle pack. Frequently accessed items, like snacks and waterproofs, should be in your handlebar roll or a top tube bag. Pack everything into dry bags inside your bikepacking bags to ensure it stays dry, even in a prolonged downpour. Aim for a total gear weight (excluding food and water) of under 10kg.
Conduct a Final Bike Check
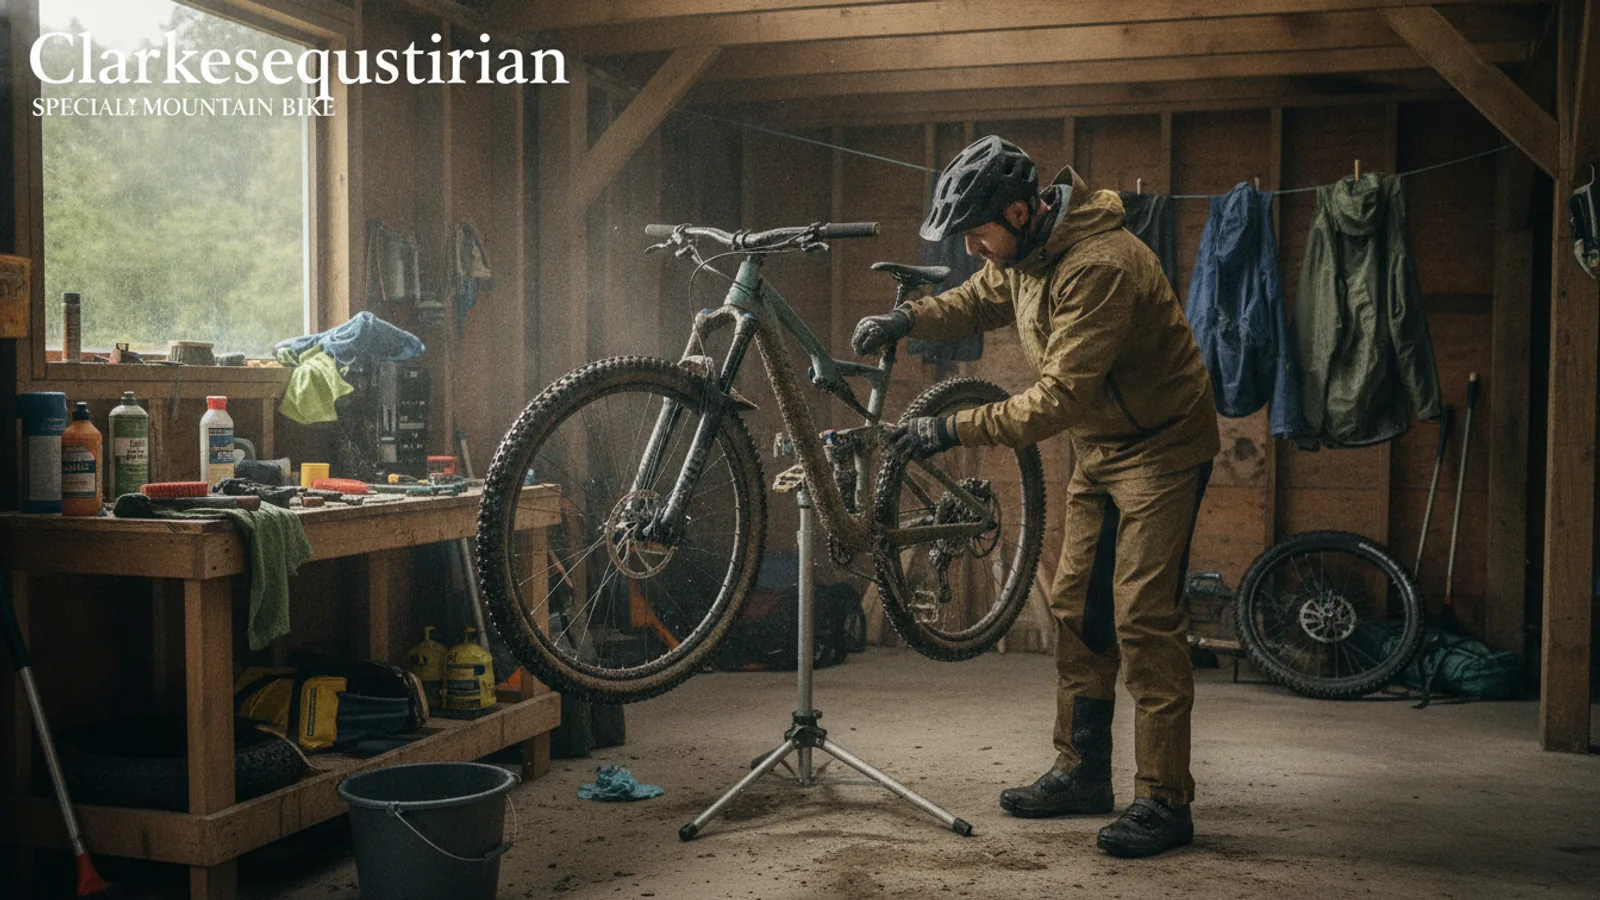
The day before you leave, perform a final, thorough "M-Check" on your bike. Start at the rear wheel and work your way forward to the front wheel, checking every component. Ensure your wheels are true and spokes are tight. Check tyre pressure, adjusting for the extra weight—you may need a few more PSI than usual. Test your brakes for firm engagement. Cycle through all your gears to confirm crisp shifting. Check that every bolt is tight, especially on your stem, handlebars, and cranks. Finally, lubricate your chain. This final check can prevent a trip-ending mechanical failure on the first day.
Navigate with Confidence
On the trail, your primary navigation tool should be your GPS device. Keep it on a screen showing your pre-planned route. Learn to use its features before you leave, such as zooming and checking upcoming elevation profiles. Refer to it regularly at junctions to ensure you stay on course. However, don't become totally reliant on it. Conserve battery by dimming the screen and only using it when needed. If you stop for a long break, check your position on your backup map (phone app or physical map) to maintain situational awareness. If you get lost, stop, stay calm, and retrace your steps to your last known point.
Manage Your Energy, Food, and Water
Pacing is critical. Ride at a steady, all-day pace, not in short, fast bursts. Eat before you are hungry and drink before you are thirsty. Consume small amounts of high-energy snacks like nuts, dried fruit, or energy bars every 60-90 minutes. Plan your main meals for lunch and dinner. When you reach a known water source, drink your fill and top up all your bottles and bladders. Always use your filter or purification tablets unless you are 100% certain the source is potable (e.g., a tap in a village). Managing your personal energy is just as important as managing your bike's gears.
Set Up a Smart Campsite
As evening approaches, start looking for a suitable spot to camp. In the UK, this often means wild camping. Find a spot that is dry, relatively flat, and sheltered from the wind if possible. Crucially, it must be inconspicuous and away from roads, buildings, and farmland. Follow the "Leave No Trace" principles: arrive late, leave early, and take all of your rubbish with you. When you set up your tent, position the door away from the prevailing wind. Organise your gear inside so you know where everything is, even in the dark. Cook away from your tent to avoid attracting animals and to prevent accidents.
Quick Reference
| Situation | Use this | Why |
|---|---|---|
| Persistent, unfixable puncture | An inner tube | Even with a tubeless setup, a large gash may not seal. An inner tube is the ultimate get-you-home solution. |
| Sudden, heavy downpour | Full waterproofs & keep moving | Stopping gets you cold quickly. Putting on layers immediately preserves body heat and morale. |
| Broken chain | Chain tool & spare quick-link | This common mechanical can end your trip. Removing the broken link and inserting a new one takes five minutes with the right tools. |
| Feeling lost or disoriented | Stop, eat, and check map/compass | Panic leads to bad decisions. A calm assessment with a reliable backup navigation tool will get you back on track. |
| Long, steep, unrideable climb | Get off and push | There is no shame in hike-a-bike. Wasting huge amounts of energy trying to ride an impossible section will ruin the rest of your day. |
Common Problems When You Trek with a Mountain Bike
Even with perfect planning, things can go wrong. Here are the most common issues we've encountered in the field and how to handle them.
- Overpacking: This is the number one mistake for beginners. The extra weight makes climbs miserable and negatively affects the bike's handling on descents. The solution is ruthless culling of non-essential items and a shakedown ride to prove what you really need.
- Mechanical Failure: Beyond a simple puncture, a bent derailleur hanger or a broken chain can stop you in your tracks. The solution is prevention (a pre-trip service) and preparation (carrying the right spares and knowing how to use them).
- Navigation Errors: Relying solely on one device whose battery dies can leave you dangerously lost. The solution is redundancy: have a primary GPS, a backup phone app with offline maps, and the knowledge to use a physical map and compass.
- Bonking (Hitting the Wall): A sudden loss of energy from depleting your body's glycogen stores. It feels dreadful and is hard to recover from on the trail. The solution is proactive fuelling—eating and drinking consistently throughout the day, not just when you feel depleted.
- Poor Campsite Selection: Setting up in a boggy area, an exposed windy spot, or too close to a path can lead to a miserable night. The solution is to take your time in the late afternoon to scout for a location that is flat, dry, sheltered, and discreet.
Advanced Tips for Mountain Bike Trekking
Once you have a few trips under your belt, you can start to refine your setup and skills for longer and more ambitious journeys.
- Go Tubeless: If you haven't already, converting your tyres to a tubeless system is the single best upgrade for reliability. It virtually eliminates pinch flats and seals most small thorn-induced punctures instantly.
- Optimise Your "Cockpit": For long days in the saddle, comfort is key. Consider adding ergonomic grips (like Ergon GP series) to reduce hand fatigue and a saddle that you know is comfortable for 6+ hours of riding.
- Master Energy Management: Learn what foods work for you. Some riders thrive on sugary gels and bars, while others perform better on "real food" like savoury snacks and nut butter. Experiment to find a sustainable fuelling strategy.
- Plan Around Resupply Points: On longer treks, carrying a week's worth of food is impractical. Route your journey through small towns or villages every 2-3 days to resupply. This drastically reduces your food weight.
- Install a Dynamo Hub: For the ultimate in self-sufficiency, a dynamo hub on your front wheel generates electricity as you ride. This can be used to power your lights and charge your GPS and phone, freeing you from reliance on power banks.
Trek Mountain Bikes FAQ
What is the best type of mountain bike for trekking?
How many miles should I plan to ride per day?
Are special bikepacking bags necessary?
Is wild camping legal in the UK?
What is the single most important piece of gear?
Final Checklist for Trek Mountain Bikes
Before you head out the door, run through this final mental checklist. Ticking every box significantly increases your chances of a smooth and enjoyable trip.
- Route Confirmed: Your route is planned, checked for legality, and loaded onto two separate navigation devices.
- Plan Shared: A responsible person knows your route, your schedule, and what to do if you don't return on time.
- Bike Serviced: Your bike has been fully checked, with special attention to brakes, gears, and tyres.
- Gear Packed & Weighed: All your gear, food, and water is packed securely, with weight distributed for optimal handling.
- Shakedown Completed: You have tested your entire setup on at least one overnight trip.
- Navigation Ready: Your GPS devices are fully charged, and you have a physical map and compass as a non-electronic backup.
- Weather Assessed: You have checked the latest mountain-specific forecast and have packed the appropriate clothing.