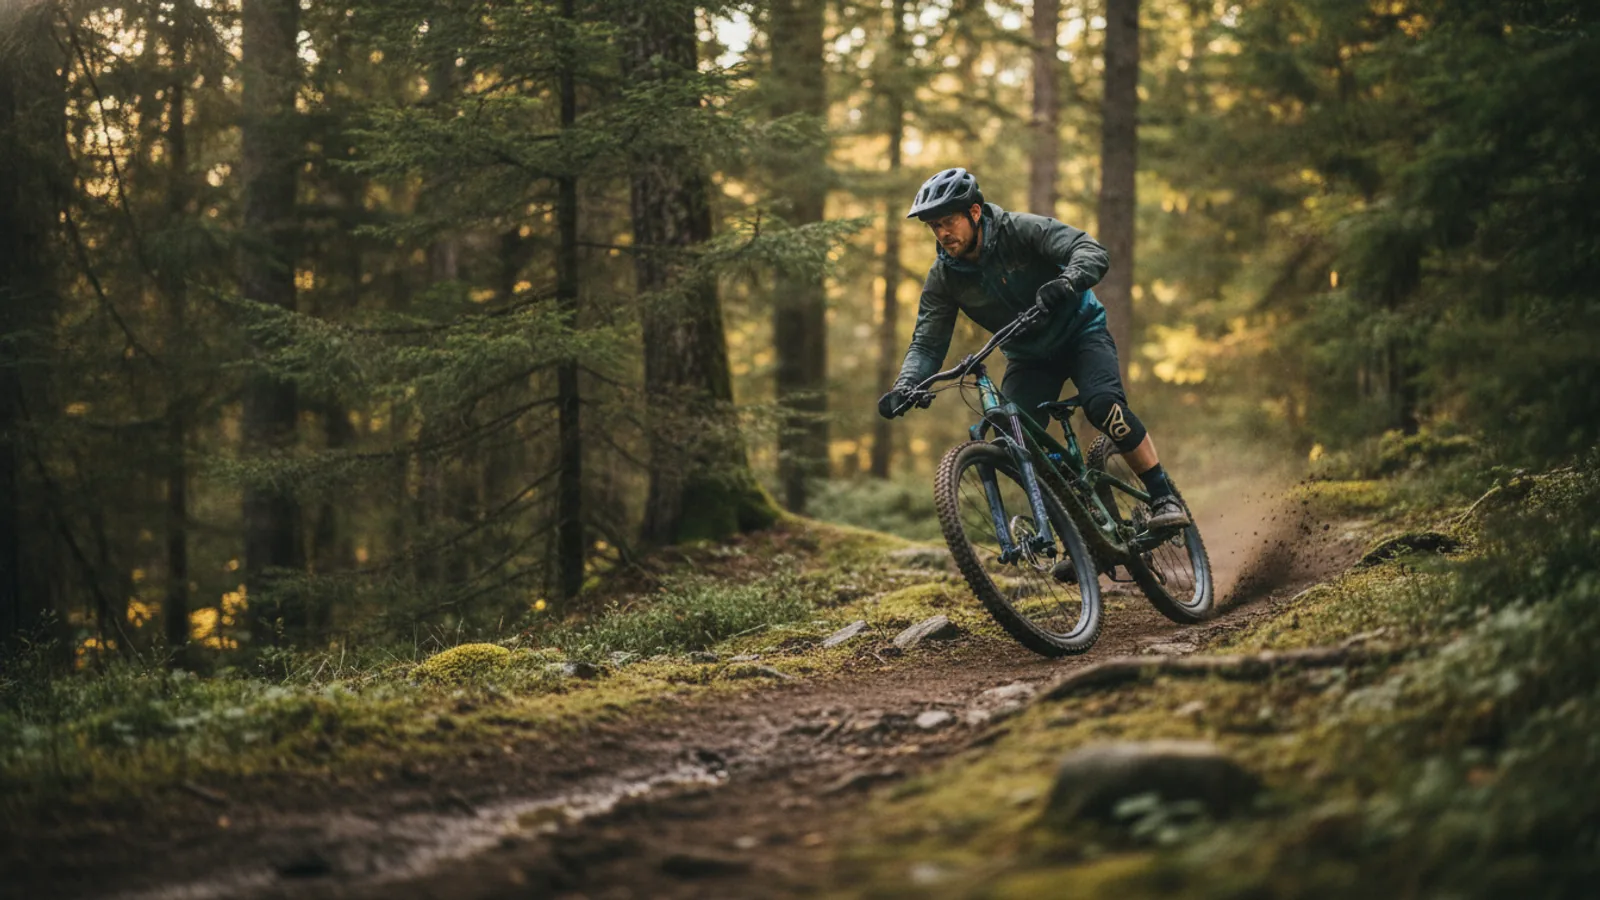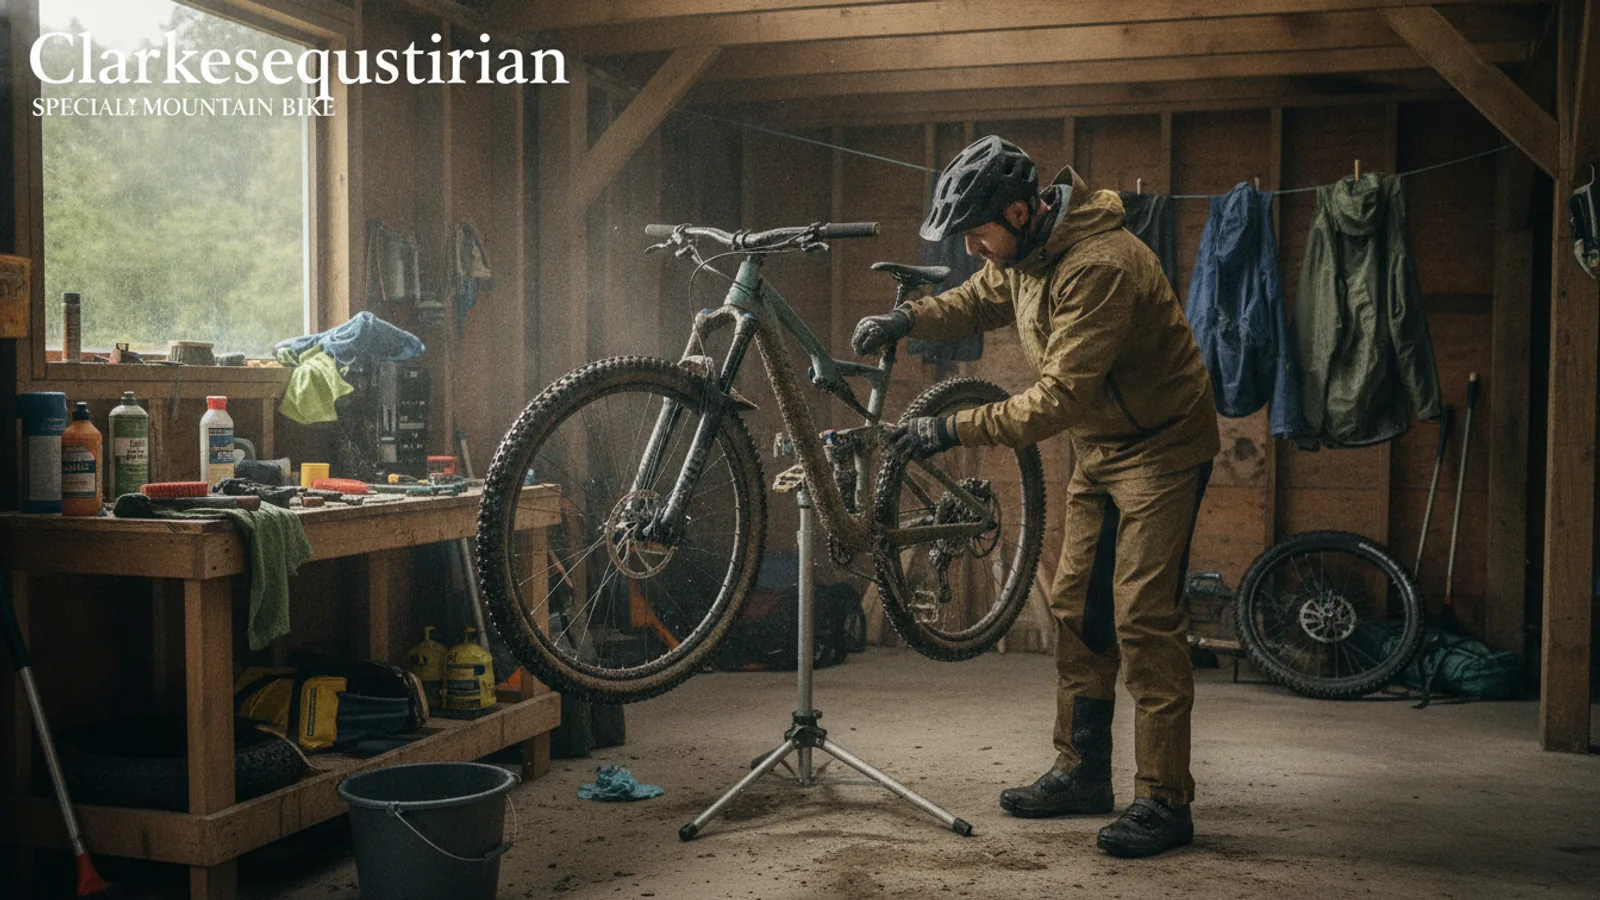
This guide provides a complete walkthrough for setting up your new or used Specialized mountain bike for its first proper trail ride. Whether you've just unboxed a Stumpjumper or are dialling in a second-hand Enduro, following these steps ensures optimal performance, comfort, and safety. We'll cover everything from initial assembly checks to fine-tuning the suspension and brakes, getting you trail-ready with the confidence that your bike is perfectly configured for you and UK conditions.
Fast Answer
- Key first step: Set your suspension sag correctly (usually 25-30% for trail bikes).
- Critical safety check: Perform a full bolt torque check before every ride.
- Essential setup: Adjust saddle height and cockpit controls for your body.
- First ride task: Properly bed-in your disc brakes in a safe, open area.
Before You Start
Gathering the right tools and information beforehand makes the setup process smooth and accurate. A well-set-up bike is not only more fun to ride but significantly safer. Refer to the specific manual for your Specialized model for precise torque values and suspension recommendations.
What You Need
- Your Specialized mountain bike
- The owner's manual (digital or physical)
- Torque wrench with a set of hex (Allen) and Torx bits (typically 3mm-8mm hex, T25 Torx)
- High-pressure shock pump (for air suspension)
- Track pump or tyre pressure gauge
- Tape measure
- Isopropyl alcohol and clean rags
- A friend to help with suspension sag measurements (optional but recommended)
- Bike stand (optional, but makes working on the bike much easier)
Safety, Timing, or Context Checks
Set aside a clear hour or two in a well-lit space. Don't rush the process. A methodical approach now prevents trail-side headaches later. This guide assumes the bike is fully assembled; if you've received it in a box, a professional build from a local bike shop (LBS) is highly recommended for safety.
Step-by-Step Instructions
Check Core Assembly and Bolts
Before making any adjustments, ensure the bike is correctly assembled and safe. This is your baseline safety inspection. If your bike was professionally built, this is a quick verification. If you built it yourself, this step is non-negotiable.
Start with an "M-Check". Imagine tracing the letter 'M' over your bike: start at the rear wheel, go up to the saddle, down to the bottom bracket, up to the handlebars, and down to the front wheel. Check every bolt and component along this path. Ensure the wheels are securely in the dropouts (axles tight), the saddle and seatpost are secure, the cranks are tight, and the stem is clamped firmly to both the steerer tube and handlebars.
Use a torque wrench to verify the tightness of critical bolts: stem bolts, handlebar clamp, seatpost clamp, and pivot bolts. The correct torque specification (in Newton-metres, Nm) is usually printed on the component itself or listed in your bike's manual. Do not overtighten, especially with carbon components, as this can cause irreparable damage.
Set Your Saddle Height and Angle
Correct saddle height is crucial for pedalling efficiency and preventing knee pain. A good starting point is to set the saddle height so that when your heel is on the pedal at its lowest point, your leg is almost completely straight.
- Sit on the bike, leaning against a wall for support.
- Place your heel on the pedal and rotate the crank to the 6 o'clock position (straight down).
- Adjust the seatpost up or down until your leg is fully extended but not locked.
- When you move your foot to a normal riding position (ball of the foot over the pedal axle), you should have a slight, comfortable bend in your knee.
For saddle angle, start with it perfectly level. You can use a spirit level app on your phone or a standard level placed across the top of the saddle. Some riders prefer a very slight nose-down tilt (1-2 degrees), but level is the best neutral starting point. Adjust the fore/aft position by loosening the clamp bolts under the saddle. A good starting point is to have the front of your kneecap directly over the pedal axle when the cranks are horizontal (3 and 9 o'clock position).
Adjust Your Cockpit and Controls
The "cockpit" refers to your handlebars, stem, grips, and controls (brake levers, shifters, dropper post remote). A comfortable setup here improves control and reduces fatigue on your hands, wrists, and back.
Brake Levers: Sit on the bike in your normal riding position (the "attack position" - standing on the pedals, elbows bent, weight centred). Your arms and hands should form a relatively straight line down to the brake levers. Adjust the angle of the levers so you don't have to bend your wrists up or down to reach them. Typically, this is a 30-45 degree downward angle from horizontal. Also, move the levers inboard on the handlebars so your index finger rests naturally on the very end of the lever blade for maximum leverage.
Shifters and Dropper Remote: Position these so they are easily reachable with your thumb without having to shift your hand's position on the grip. You shouldn't have to strain or compromise your grip to change gear or drop your saddle.
Set Suspension Sag
Sag is the amount your suspension compresses under your static weight. Setting it correctly is the single most important step for getting your bike to handle well. Specialized bikes often have a recommended sag percentage printed on the fork or shock. For most trail and enduro bikes, this is 25-30% for the rear shock and 15-20% for the fork. Your bike's manual is the ultimate source of truth here.
- Put on all your regular riding gear (helmet, pack with water, shoes) to get an accurate riding weight.
- Slide the rubber o-ring on your shock and fork stanchion down to the dust seal.
- Carefully get on the bike without bouncing. Stand in your attack position, pedals level. It's helpful to have a friend balance you or to lean gently against a wall.
- Let the suspension settle, then carefully get off the bike without compressing it further.
- The o-ring will have moved. Measure the distance from the dust seal to the o-ring. This is your sag.
- Compare this measurement to the total travel of your shock/fork. For example, if your rear shock has 50mm of stroke and your sag is 15mm, you have 30% sag (15 / 50 = 0.3).
- Use a shock pump to add air to increase pressure (reduce sag) or release air using the bleed valve to decrease pressure (increase sag). Adjust in small increments (5-10 PSI) and re-measure until you hit your target.
Some Specialized bikes feature "Autosag" on the rear shock, which simplifies this process. Inflate the main chamber to a high pressure (e.g., 300 PSI), sit on the bike, then press the red release valve until air stops coming out. This automatically sets the sag to the recommended level.
Set Rebound and Compression Damping
Once sag is set, you need to adjust your damping. Damping controls the speed at which your suspension compresses and extends.
Rebound (usually a red dial): This controls how quickly the suspension returns to its full travel after being compressed. Too fast (fully open, or "tortoise" symbol) and the bike will feel like a pogo stick, bucking you off obstacles. Too slow (fully closed, or "hare" symbol) and the suspension won't recover in time for the next hit, "packing down" and feeling harsh.
A good starting point is to set it in the middle of its range. Then, push down hard on the saddle or handlebars and watch how quickly the suspension returns. It should return quickly but without overshooting or bouncing. A common trail-side test is to ride off a kerb; the suspension should compress and return in one smooth motion, not bounce.
Compression (usually a blue dial or lever): This controls the speed of the suspension's compression. Many Specialized bikes have a simple 3-position lever: Open, Pedal, and Firm/Lock.
- Open: For descending. Maximum sensitivity and traction.
- Pedal: For undulating trails or technical climbing. Adds low-speed compression damping to reduce pedal-bob while remaining active over bumps.
- Firm/Lock: For smooth climbs on tarmac or fire roads. Makes the suspension very firm for maximum efficiency.
Adjust Tyre Pressure
Tyre pressure dramatically affects grip, comfort, and rolling resistance. The ideal pressure depends on your weight, tyre size, casing, terrain, and whether you're running tubes or tubeless. The recommendations printed on the side of the tyre are maximums, not recommendations.
For UK trails, which are often soft and slippery, lower pressures generally provide more grip. A good starting point for a rider of average weight (around 75kg) on a 2.3"-2.5" tyre is:
- Front Tyre: 22-25 PSI
- Rear Tyre: 25-28 PSI
If you're running a tubeless setup (highly recommended), you can go lower. Heavier riders should add a few PSI; lighter riders can remove a few. The goal is to have enough pressure to prevent the tyre from squirming in corners or dinging the rim on rocks, but low enough to allow the tread to conform to the trail for maximum grip.
Bed-In Your Brakes
This is a vital safety step for any bike with new disc brakes (or new pads/rotors). Bedding-in transfers a thin, even layer of pad material onto the rotor, which provides the friction needed for powerful, consistent, and quiet braking. Skipping this step results in weak and noisy brakes.
- Find a safe, open area like an empty car park or a gentle, straight hill with no traffic.
- Get up to a moderate speed (about 10-12 mph).
- Apply one brake (either front or rear) firmly and consistently to slow yourself down to walking pace. Do not lock up the wheel or come to a complete stop.
- Release the brake and get back up to speed.
- Repeat this process 10-15 times for each brake individually. You should start to feel the braking power increase significantly.
- Finally, perform 5-6 near-stops from a slightly higher speed to complete the process.
After this process, your brakes will be ready for the trail. Avoid touching the rotors with your fingers, as oils from your skin can contaminate them and reduce performance.
Quick Reference
| Situation | Use this | Why |
|---|---|---|
| Climbing a smooth fire road | Set suspension compression to 'Firm' or 'Lock' | Maximises pedalling efficiency by preventing energy loss to suspension movement. |
| Fast, rough, technical descent | Set suspension compression to 'Open' | Allows the suspension to be fully active, absorbing bumps and maximising traction. |
| Bike feels harsh over small, rapid bumps | Increase rebound speed (turn red dial towards the hare/'-') | The suspension is "packing down"; speeding up rebound allows it to recover between hits. |
| Losing traction in wet, rooty corners | Lower tyre pressure by 2-3 PSI | Increases the tyre's contact patch, allowing the tread to conform to the ground for more grip. |
| Bike feels like a pogo stick after a jump | Decrease rebound speed (turn red dial towards the tortoise/'+') | Slows the return stroke of the suspension, keeping the bike composed and planted. |
Common Problems When You Set Up a Specialized Mountain Bike
-
Problem: Suspension feels harsh, even with correct sag.
Solution: You may have too many volume spacers installed in your fork or shock for your weight and riding style. These tokens make the suspension more progressive (harder to bottom out). Check your manual on how to remove one. Alternatively, your compression damping could be set too firm; try opening it up.
-
Problem: Brakes are noisy or feel weak.
Solution: The pads or rotor are likely contaminated, or they weren't bedded-in properly. Clean the rotor thoroughly with isopropyl alcohol and a clean rag. Lightly sand the brake pads to remove the contaminated surface layer. If this fails, you may need new pads. Then, perform the bed-in procedure again carefully.
-
Problem: Shifting is hesitant or noisy.
Solution: The derailleur hanger might be slightly bent, which is very common after even a minor knock. A bike shop can straighten it with a special tool. Alternatively, the gear cable may have stretched slightly (normal for new bikes). This can be fixed with a quick turn of the barrel adjuster on your shifter.
-
Problem: A persistent creak when pedalling.
Solution: Creaks can be notoriously difficult to trace. The most common culprits are a dirty or dry seatpost/clamp, pedal threads, or the bottom bracket. Start by removing, cleaning, and re-greasing your seatpost and pedal threads. If the creak persists, it may be time for a bottom bracket service at your LBS.
Advanced Tips for Your Specialized Mountain Bike
- Bracket Your Settings: When tuning suspension on the trail, make one change at a time. For rebound, try riding a familiar section of trail with it two clicks faster than your baseline, then two clicks slower. This helps you feel the difference and find the sweet spot, a process known as "bracketing".
- Volume Spacers for Progression: If you find you're using all your travel too easily (bottoming out) despite having the correct sag, you need more "progression". Adding a volume spacer to your fork or shock makes the end of the stroke ramp up more firmly, providing bottom-out resistance without making the initial part of the travel feel harsh.
- Consider Tyre Inserts: For aggressive riders in rocky terrain, foam tyre inserts (like CushCore or Rimpact) are a game-changer. They allow you to run lower pressures for incredible grip while protecting your rims from damage and providing sidewall support for better cornering.
- Custom Tune Your Cockpit: Don't be afraid to experiment with handlebar rise, stem length, and even rolling the handlebars slightly forward or backward in the stem. Small changes can make a big difference to your comfort and control on long rides. A 5mm change in stem height or a few degrees of bar roll can transform how a bike feels.
Specialized Mountain Bike FAQ
How often should I check my suspension pressure?
It's good practice to check your sag and air pressure at least once a month, and always before a big day out. Air pressure can be affected by significant temperature changes. A quick pre-ride check ensures consistent performance.
What is SWAT™ technology on Specialized bikes?
SWAT™ (Storage, Water, Air, Tools) is Specialized's integrated storage system. Many bikes feature a "SWAT box" in the down tube for storing a tube, pump, and tools, or have a multi-tool integrated into the steerer tube or a bottle cage. It's designed to let you carry essentials on the bike itself rather than in a pack.
Can I use a pressure washer to clean my bike?
It is strongly advised not to use a high-pressure washer. The powerful jet can force water and grit past the seals into sensitive areas like suspension pivots, headsets, and bottom brackets, causing premature wear. Use a regular garden hose with a spray nozzle, bike-specific cleaners, and brushes instead.
My bike has a "Flip Chip". What does it do?
Many Specialized trail and enduro bikes have a "Flip Chip" in the suspension linkage. This allows you to make small adjustments to the bike's geometry. Typically, it offers a 'High' and a 'Low' setting. The 'Low' setting makes the head angle slacker and lowers the bottom bracket for more stability at speed and on steep terrain. The 'High' setting steepens the head angle and raises the bottom bracket for quicker handling and better pedal clearance on technical climbs.
How do I know when my suspension needs a service?
Most manufacturers, including Specialized, recommend a lower leg/air can service every 50 hours of riding and a full damper service every 100-200 hours. Signs that a service is due include oil leaking, the suspension feeling sticky or losing air, or the adjustment dials no longer having an effect. Regular servicing is key to long-term performance and durability.
Final Checklist for Your Specialized Mountain Bike
Before you hit the trail, run through this final pre-ride checklist to ensure nothing has been missed.
- Tyre Pressure: Set correctly for your weight and trail conditions.
- Brakes: Levers feel firm and engage properly. Brakes are bedded-in.
- Suspension: Sag is set, and rebound is at a good starting point.
- Axles: Front and rear wheel axles are tight.
- Bolts: Stem, handlebar, and seatpost bolts are torqued correctly.
- Drivetrain: Chain is clean and lubricated.
- Dropper Post: Functions smoothly up and down.
- Pack Essentials: You have a multi-tool, tube, pump, and tyre levers, either in a pack or in your SWAT™ storage.
With this setup complete, your Specialized mountain bike is ready to perform at its best. Now, go and enjoy the trails!