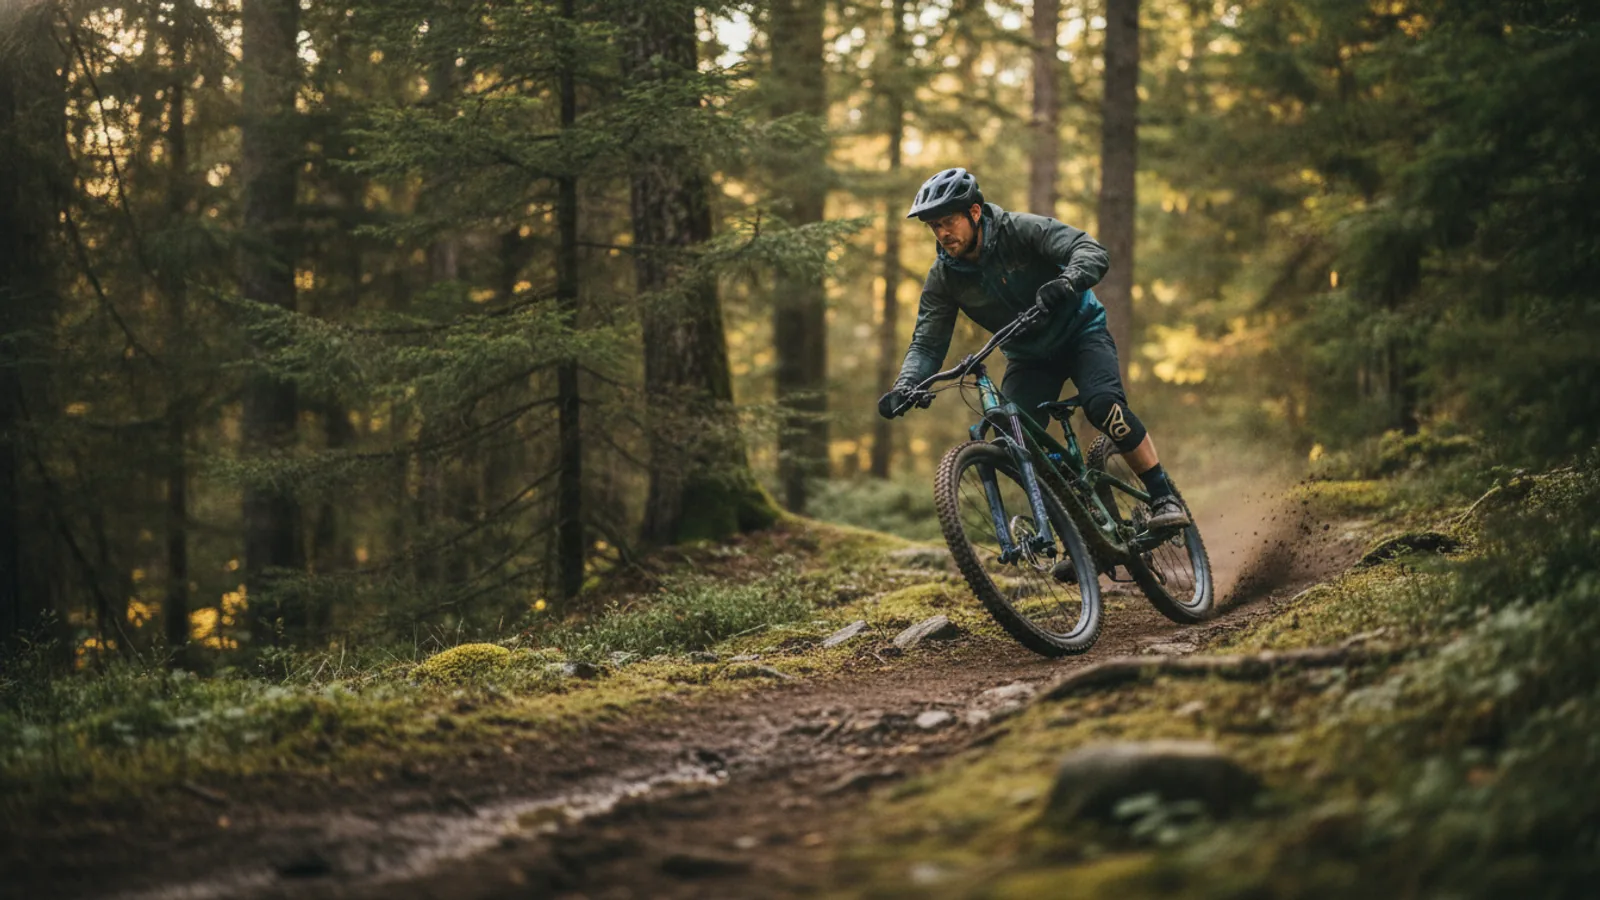
This guide is your field manual for getting started with an electric mountain bike (e-MTB). Whether you're upgrading from a traditional bike or are new to the trails, we'll walk you through the essential pre-ride checks, core riding techniques, and battery management skills you need. We focus on practical, real-world advice to help you ride safely, efficiently, and get the most enjoyment from the pedal assistance. This guide helps you move beyond simply turning the bike on, teaching you how to partner with the motor to conquer climbs and extend your time on the trail.
Fast Answer
- Key Skill: Mastering assist modes and cadence.
- Primary Goal: Use the motor to enhance your ride, not just carry you.
- Biggest Mistake: Staying in Turbo mode and running the battery flat halfway through a ride.
Before You Start
An electric mountain bike isn't just a bike with a motor; it's a different machine that requires a specific approach. Proper preparation ensures your first ride is safe, successful, and fun, rather than a frustrating lesson in battery management. Treat this pre-ride check as a mandatory part of every outing.
What You Need
- A fully charged e-MTB: Ensure the battery has reached 100% and is securely locked into the frame.
- Correctly fitting helmet: A modern trail or enduro helmet with good rear coverage is essential.
- Riding gloves and eye protection: For grip, protection from branches, and keeping trail debris out of your eyes.
- Trailside repair kit: Multi-tool with chain breaker, tyre levers, a pump suitable for your tyre volume, and a tubeless plug kit or spare inner tube.
- Water and nutrition: You will still be working hard. Carry enough water and snacks for your planned route.
- A suitable route plan: For your first few rides, choose familiar trails or well-marked trail centre loops to focus on the bike, not navigation.
Safety, Timing, or Context Checks
- Understand UK E-Bike Law: To be legal on UK roads and bridleways without a license or tax, your bike must be an 'electrically assisted pedal cycle' (EAPC). This means the motor is a maximum of 250 watts, it only provides assistance when you are pedalling, and the assistance cuts off at 15.5mph (25km/h). Bikes with throttles or more power are legally considered mopeds.
- Perform a pre-ride 'M-Check': Just like any bike, check that key components are secure. Trace the letter 'M' from the rear wheel axle, up to the saddle, down to the pedals, up to the handlebars, and down to the front wheel axle, checking everything is tight and functioning.
- Brake Check: E-MTBs are significantly heavier (often 22-26kg). Squeeze your brake levers firmly to ensure they are sharp and responsive. Your brakes have to work much harder to control this extra mass, especially on descents.
- Know Your Controls: Before you even pedal, familiarise yourself with the display unit and controller. Know how to power it on, cycle through the assist modes (e.g., Eco, Trail, Boost), and access any other features like 'Walk Assist'.
Step-by-Step Instructions
Power On and Select a Starting Mode
Before you get on, press the power button on your bike's display or controller. The screen will light up, showing your current battery level and assist mode. Most systems default to the lowest setting or 'off'. For your first pedal strokes, select the lowest assistance level, often labelled 'Eco' or 'Tour'. This provides a gentle push that won't surprise you. Starting in a high-power mode like 'Boost' or 'Turbo' can cause the bike to lurch forward unexpectedly, which is especially dangerous in a crowded car park or at a technical trail head.
Master the 'Soft Pedal' Start
The motor engages when it senses you're pedalling. A hard stomp on the pedal from a standstill will deliver a powerful surge. To manage this, learn to 'soft pedal'. Apply smooth, gentle pressure to the lead pedal. As the bike begins to roll forward smoothly, you can then increase your pedalling effort and cadence. This technique is crucial for technical uphill starts where a sudden jolt of power could spin the rear wheel and cause you to lose traction and balance. Practice this on a slight, grassy incline until it feels natural.
Adapt Your Climbing Technique for Assist
An e-MTB transforms climbs, but it doesn't eliminate the need for good technique. To maintain traction with the added motor torque, you must keep your weight centred and your pedalling smooth. Stay seated for as long as possible, shifting your weight slightly forward on the saddle. This keeps the rear wheel weighted and gripping the trail. Focus on maintaining a high, consistent cadence (the speed you spin the pedals), typically between 70-90 RPM. Modern motors are optimised for this range and deliver power more efficiently and smoothly than when you're grinding a heavy gear. Use your gears frequently to keep your cadence in this sweet spot.
Manage Battery and Modes Intelligently
Your battery range is finite. Think of your assist modes as gears for the motor. Use the lowest effective mode for the terrain to conserve energy. On flat fire roads or gentle gradients, stay in Eco. When the trail kicks up or becomes more technical, switch to Trail or Tour. Reserve the highest power mode, Boost or Turbo, for short, brutally steep sections that you might otherwise have to walk. Constantly riding in Turbo will give you a thrilling sense of power but will drain your battery in a fraction of its potential range. A smart rider finishes the ride with 10-20% battery left, not pushing a 25kg bike home.
Remember that factors like cold weather, heavy rider weight, soft trail conditions, and low tyre pressures will all reduce your maximum range.
Adjust Your Descending and Braking
The extra mass of an electric mountain bike completely changes how it handles on descents. The added weight makes the bike incredibly stable and planted, smoothing out rough terrain. However, this momentum means you must brake earlier and more deliberately than on a non-assisted bike. Look further down the trail, anticipate corners, and do most of your braking in a straight line before you start to turn. The bike's suspension is working harder to control this mass, so ensure it's set up correctly for your weight with the added bike weight in mind.
Refine Your Cornering
The low centre of gravity from the motor and battery can be a huge advantage in corners, providing excellent grip. To take advantage of this, focus on leaning the bike into the turn more than your body. Push the bike down into the corner with your outside foot down on the pedal. The heavy bike will resist being flicked from side to side in tight S-bends, so you need to be more deliberate with your movements, using your hips and shoulders to initiate turns earlier. The power assist can help you accelerate out of corners, but be careful not to apply it too early, which could cause the front end to wash out.
Utilise 'Walk Assist' for Unrideable Sections
Pushing a 25kg bike up a steep, muddy hike-a-bike section is exhausting. This is where 'Walk Assist' is invaluable. This feature, usually activated by pressing and holding a button on the handlebar remote, engages the motor at a very low speed (around 3-4mph). It doesn't propel the bike on its own, but it makes pushing the heavy bike uphill feel almost effortless. Find out how to activate it before you need it. It can be the difference between clearing a tough section with energy to spare and being completely drained.
Practice Post-Ride Care and Charging
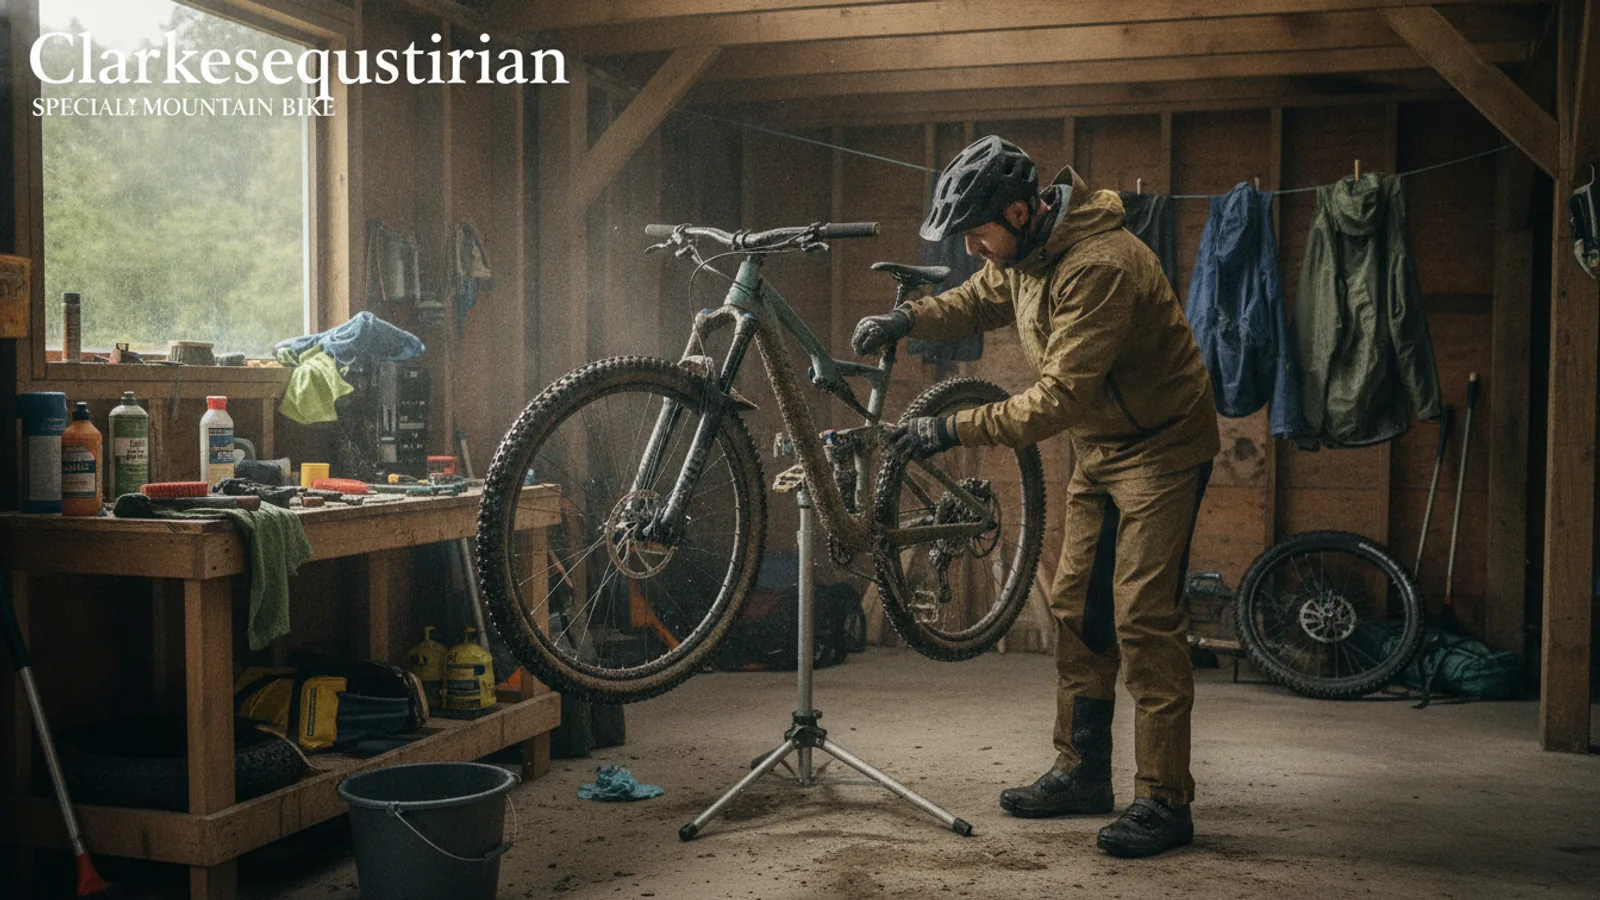
After your ride, take a few minutes for essential maintenance. Gently hose down the bike, using a soft brush to remove mud and grit. As mentioned, avoid pressure washers. Pay attention to the drivetrain, cleaning and re-lubricating the chain to ensure smooth shifting and prevent premature wear. If your battery is removable, it's best practice to unlock it, take it indoors, and let it reach room temperature before charging. Charging a very cold or very hot battery can reduce its long-term health. Use only the manufacturer-supplied charger and connect it to a safe, dry location. Check the charging ports on both the battery and frame for any dirt or moisture before connecting.
Quick Reference
| Situation | Use this | Why |
|---|---|---|
| Long, steady fire road or connecting trail | Eco Mode | Maximises battery range for the fun parts of the ride. |
| A short, very steep, and technical climb | Boost/Turbo Mode + Lower Gear | Provides maximum torque to power over obstacles without stalling. |
| Fast, flowing singletrack descent | Power Off or Eco Mode | Saves battery and prevents unwanted acceleration out of corners. |
| Pushing the bike up an unrideable slope | Walk Assist | Avoids exhausting yourself pushing a 25kg bike. |
| Navigating a tight, technical rock garden | Trail Mode + 'Ratchet' Pedalling | Keeps the motor engaged with short pedal strokes to avoid hitting your pedals. |
Common Problems When You Ride an Electric Mountain Bike
- Problem: You run out of battery far from home.
This is the most common beginner mistake. The cause is almost always overuse of high-power modes. The fix is proactive: start every ride with a plan. Use lower assist modes more often, plan shorter routes until you understand your bike's true range, and watch the battery indicator like a hawk. If it happens, turn the system off and prepare for a long, hard pedal home. - Problem: The bike feels heavy and difficult to manoeuvre.
An e-MTB cannot be muscled around like a lightweight trail bike. The solution is to use technique, not force. Practice low-speed skills like track stands and tight figure-of-eights in a field. This helps you get used to the bike's balance point. On the trail, be proactive and set up for turns earlier. Also, check your suspension—it may need more air pressure and slower rebound damping to control the extra mass. - Problem: The motor cuts out or shows an error code.
First, perform a trailside diagnosis. Is the battery securely seated in the frame? Is the display unit properly connected? The most common culprit is a misaligned wheel speed sensor. This is usually a small magnet on a rear wheel spoke and a sensor on the chainstay. If they've been knocked out of alignment, the system won't know you're moving and will cut power. If these checks don't work, you may need to consult your bike's manual or visit a dealer. - Problem: You lose traction and spin the rear wheel on climbs.
This is caused by too much torque, poor weight distribution, or a jerky pedal stroke. The fix is to shift your weight forward, stay seated, select an easier gear to enable a smoother, faster spin (cadence), and consider lowering the assist mode. Feathering the power by pedalling smoothly is a key skill to learn.
Advanced Tips for Electric Mountain Bike Riding
- Tune Your Suspension for the Weight: Your standard suspension settings won't be adequate. The bike's increased mass requires more support. Start by adding 10-15% more air pressure to your fork and shock than you would for a regular bike of the same travel. You'll also likely need to slow down the rebound damping by a few clicks to prevent the bike from feeling like a pogo stick over repeated hits.
- Invest in E-Bike Specific Components: The extra weight and torque put more stress on parts. Consider upgrading to components designed for the job. This includes stronger wheels, tyres with more robust casings (like Schwalbe's 'Super Gravity' or Maxxis' 'Double Down'), and brakes with larger rotors (200mm or even 220mm) and metallic pads for better heat dissipation and stopping power.
- Master the 'E-MTB Manual': Lifting the front wheel over an obstacle is harder due to the weight. It requires a more exaggerated and better-timed body movement. Shift your weight back aggressively and pull up on the bars, using a small kick of the pedals in a higher assist mode to help 'pop' the front wheel up. This takes practice but is essential for technical trails.
Electric Mountain Bike FAQ
How far can I actually ride on a single charge?
This is the ultimate "it depends" question. A lightweight rider on flat, hardpacked trails using only Eco mode might get 80 miles from a 700Wh battery. A heavier rider tackling steep, muddy hills in Turbo mode might only get 20 miles. Your bike's display will give you a range estimate, but learn to treat it as a rough guide, not a guarantee. The best way to learn is by tracking your own rides.
Can I ride my electric mountain bike in the rain and through puddles?
Yes. E-MTB systems are designed to be highly water-resistant and are sealed against rain and splashes. You can ride in the wet without issue. However, they are not submarines. Do not fully submerge the motor or battery unit in deep river crossings, and never, ever use a pressure washer for cleaning as it can force water past the seals.
Do I still get a good workout on an e-MTB?
Absolutely. It is pedal-assist, not a throttle-powered motorbike. You have to put in the effort to get the reward. Studies have shown that e-MTB riders often have a heart rate in the same effective training zones as regular mountain bikers; they just travel further and faster for the same effort. You can choose your workout: use low assist for a tough session or higher assist to keep up with faster friends.
Where am I legally allowed to ride my e-MTB in the UK?
A legally compliant EAPC can be ridden anywhere a normal bicycle can go. In the context of mountain biking, this means bridleways, byways, and other designated permissive paths or cycle routes. You are not allowed to ride on public footpaths. Most UK trail centres and bike parks welcome legal e-MTBs, but it is always worth checking their specific policies before you travel.
Final Checklist for Your Ride
- Battery Status: Fully charged and securely locked in the frame.
- Tyre Pressure: Inflated correctly for your weight and trail conditions.
- Brake Function: Levers feel firm and brakes are stopping you effectively.
- Safety Gear: Helmet, gloves, and glasses are on.
- System On: Display is powered on and you've selected a suitable starting mode (usually Eco).
- Route Plan: You know where you're going and have a realistic plan for your battery range.
- Trail Kit: You have your repair tools, pump, water, and snacks packed.